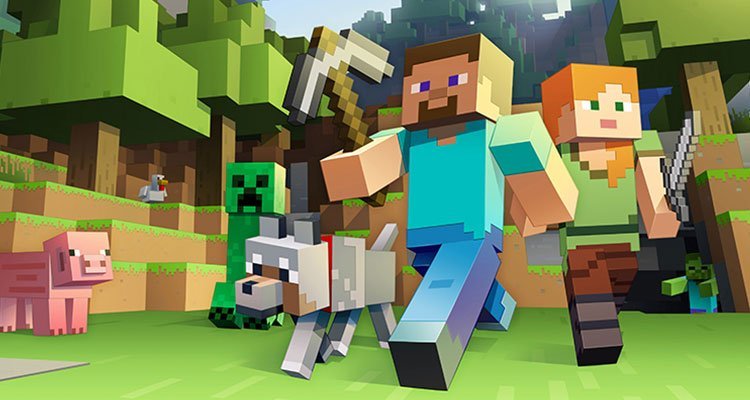
If you are wondering what on Earth is a ‘skin’ in Minecraft, we are here to save the day! A skin is basically the look of the player AKA you. You can be whoever you would like – no matter whether it’s a Chewbacca you are looking for or someone like Abraham Lincoln. You can pretty much go for anything from a medieval knight to an alien and that is not that hard to do at all! So how is a skin created? Well, it’s done by wrapping a simple 2D image file around a 3D player structure. You always start off with the same basic Minecraft skin, but as you progress through the game, you’d surely want to change things up a little, wouldn’t you?
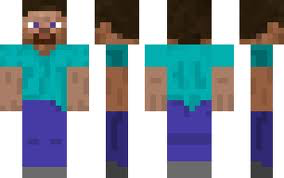
This is what the default player skin, whose name is Steve, looks like from each side:
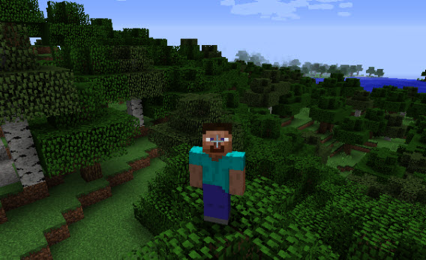
You can take a good look at yourself by pressing the F5 key. Pressing F5 again makes you able to change the view and you’ll be able to see your character up close.
So, how is it possible to change your Minecraft skin?
The most fiddly way would be to use an image editor. That’s if you want to create someone the Internet has never seen before, like your friends and family.
First, you need to download the image file for your existing skin. Then go and log in to your account at minecraft.net and click on the ‘Profile’ icon. Somewhere halfway down the page, you would find a link called ‘download the reference skin’.

Click on that link and then open an image called char.png (that is the 2D character image we mentioned before). Save that file to your computer and open it up in an image editing program – you can pick anything from Paint or GIMP to Photoshop. Then there’s the fun part – you can change the colours of the various body parts (yet try to make sure that you leave all the transparent bits transparent). After you are finished, save the file with a different name (but don’t forget that it has to be a .png!).
Having done that, you should head back to your Minecraft profile, and just underneath the download link you clicked earlier there you would find a ‘Browse’ button. Click it to find the newly created file and proceed to upload by using the ‘Upload’ button.
Congrats! Log in to Minecraft and use your new skin to the fullest!
However, the process of how it is possible for you to change your skin in Minecraft if you are playing the game on PChas hugely evolved over the years, and the good thing is that it only keeps getting better!
Changing Minecraft skins in-game
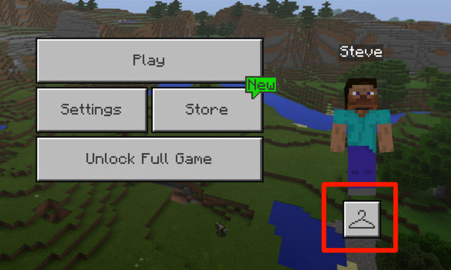
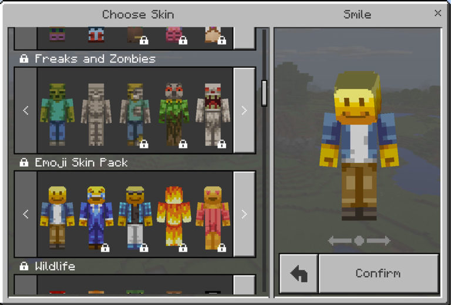
If your Windows has the most recent update of Minecraft, changing the looks of your character would be easy-peasy, for it has the Skin Chooser feature.
The Chooser basically has some of the pre-selected skins by the Minecraft team – you only have to click on the clothes hanger icon which is situated below your character on the main title screen.
Here, you can preview and select from a variety of different skins. Many of them are free, whereas others must first be unlocked with Minecraft Coins. The skins that are for purchase are marked with an icon of a little white lock.
A much easier way would be to use a special website that is designed uniquely for you to edit your own skin. You can start with the basic Steve character or go on working on one of the pre-made ones. You can change the colour of pretty much everything down to a single pixel until it starts looking just like you fancy. Once you are done, save your file in the .png format and upload it to your Minecraft profile page (described above).
The easiest way is, of course, downloading a pre-made skin from a website. Places like skins4minecraft.com are perfect if you can’t be bothered with downloading loads of different files to your computer! They are very small and simple .png files, so you won’t be risking downloading some kind of a virus or something.
Good luck!